How To Make A DIY Hummingbird Feeder
A diy hummingbird feeder can be a fun small-yard project, but it has to be easy to clean, easy to refill, and safe enough for real backyard use. Hummingbirds are drawn to fresh sugar-water nectar, not fancy decorations, so the best homemade feeder is usually simple: a small nectar container, secure hanging hardware, smooth feeding ports, and a cleaning routine you can actually keep.
This guide covers two beginner-friendly approaches: a diy mason jar hummingbird feeder and a temporary plastic bottle version. You will also learn how to make safe hummingbird food, add a diy ant moat, place the feeder in a small yard or patio, and avoid the common mistakes that lead to cloudy nectar, leaks, mold, ants, bees, or wasted effort.
The safest takeaway is this: use refined white sugar and water only, skip red dye and honey, keep the feeder small, and clean it often. Smithsonian’s National Zoo recommends a 1 part sugar to 4 parts water nectar mix and says not to add red dye; Audubon also warns against substituting honey or using red coloring.
Start With A Feeder Design You Can Clean
The first rule of any hummingbird diy feeder is that cleaning matters more than creativity. If the feeder has narrow crevices, glued seams, hidden corners, rough cut plastic, or parts you cannot scrub, it may look clever for one afternoon and become a problem by the end of the week.
A good homemade feeder should have:
- A small nectar reservoir so you are not wasting sugar water.
- Smooth feeding openings with no sharp edges.
- Parts that come apart for scrubbing and rinsing.
- A secure hanger that will not tip or swing wildly.
- Red accents near the ports, not red dye in the nectar.
For most beginners, a small glass jar is easier to clean than a complicated plastic craft build. A plastic bottle can work as a short-term project, especially for a classroom-style demonstration or a renter testing a balcony spot, but replace it if the plastic clouds, scratches, cracks, or traps residue around the ports.
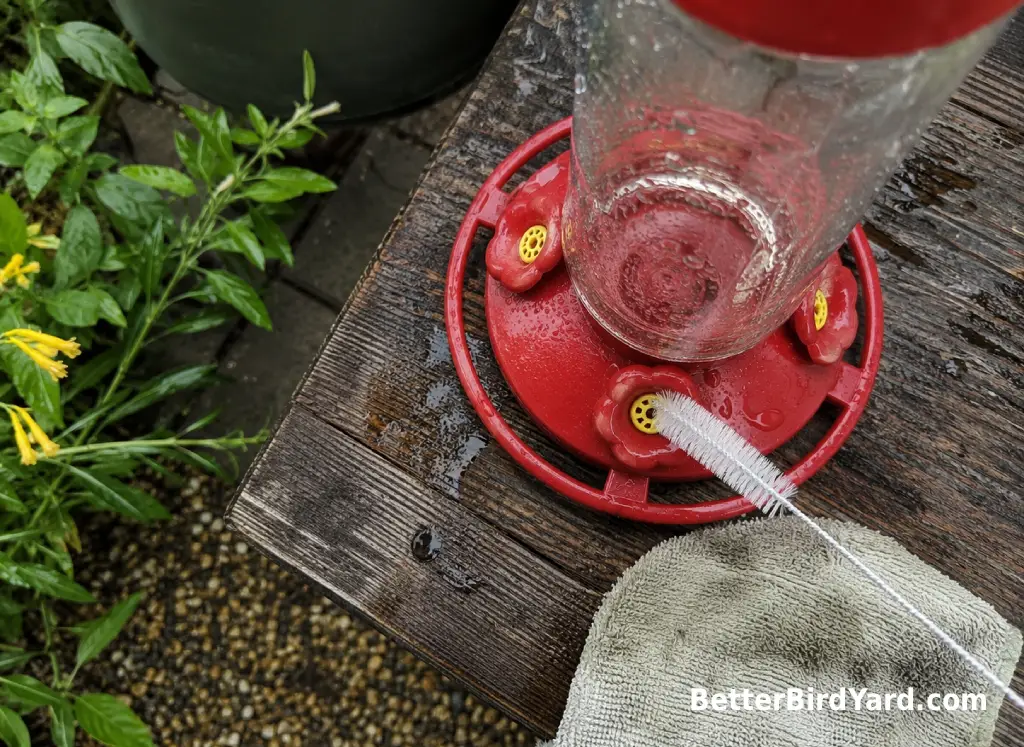
Hummingbird feeders need more frequent care than seed feeders because sugar water can spoil. Cornell Lab’s All About Birds advises changing sugar water at least every 3 to 5 days, more often in hot weather, and cleaning hummingbird feeders at least weekly with hot water and a bottle brush.
How To Make Safe DIY Hummingbird Feed
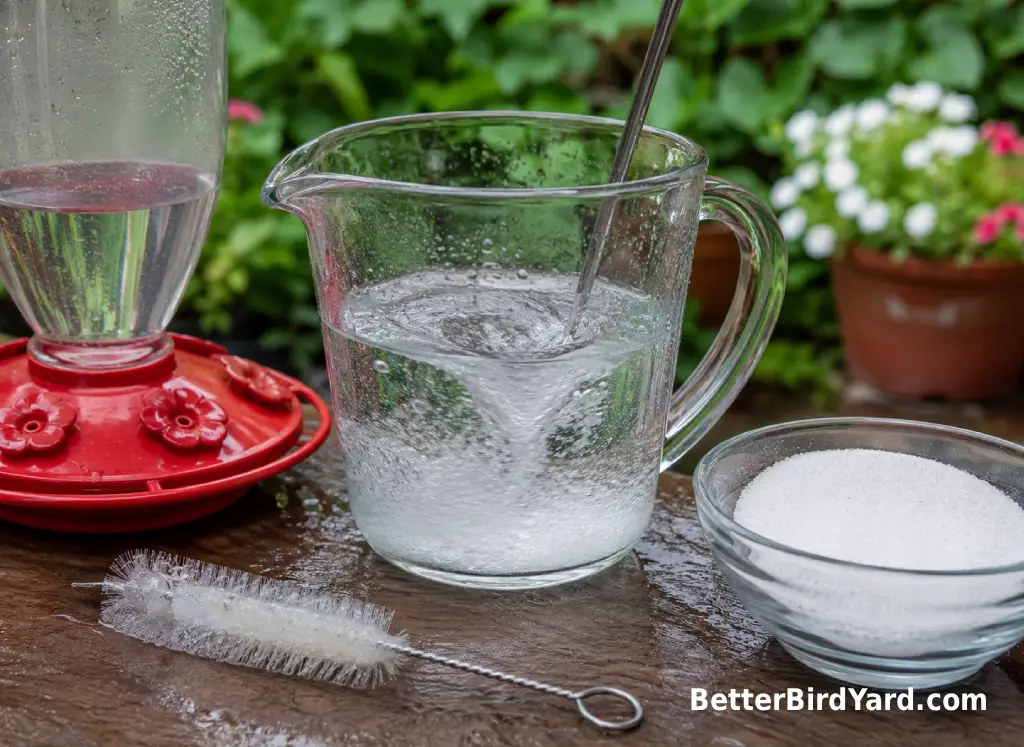
Homemade hummingbird food is simple: mix 1 part refined white sugar with 4 parts water until the sugar is fully dissolved. For a small feeder, that can mean 1/4 cup sugar with 1 cup water. Let the mixture cool before adding it to the feeder.
Use only refined white table sugar and water. Do not add red dye, honey, corn syrup, brown sugar, raw sugar, powdered sugar, fruit juice, sports drinks, or artificial sweeteners. Smithsonian’s National Zoo specifically recommends refined white sugar and water, says not to add red dye, and advises against honey, corn syrup, raw sugars, and powdered sugar for hummingbird nectar.
Make small batches at first. In a beginner yard, a half-full feeder that gets cleaned often is usually better than a large feeder full of nectar that sits too long. Extra nectar can be kept in the refrigerator for a short time, but discard it if it looks cloudy, smells off, or shows any mold.
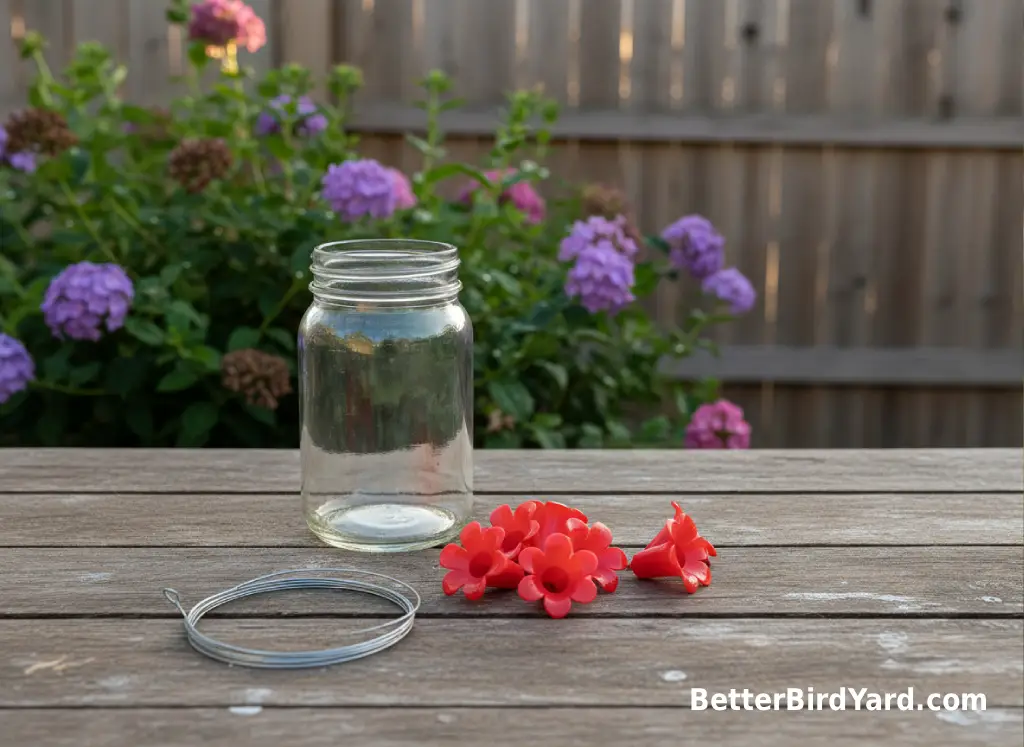
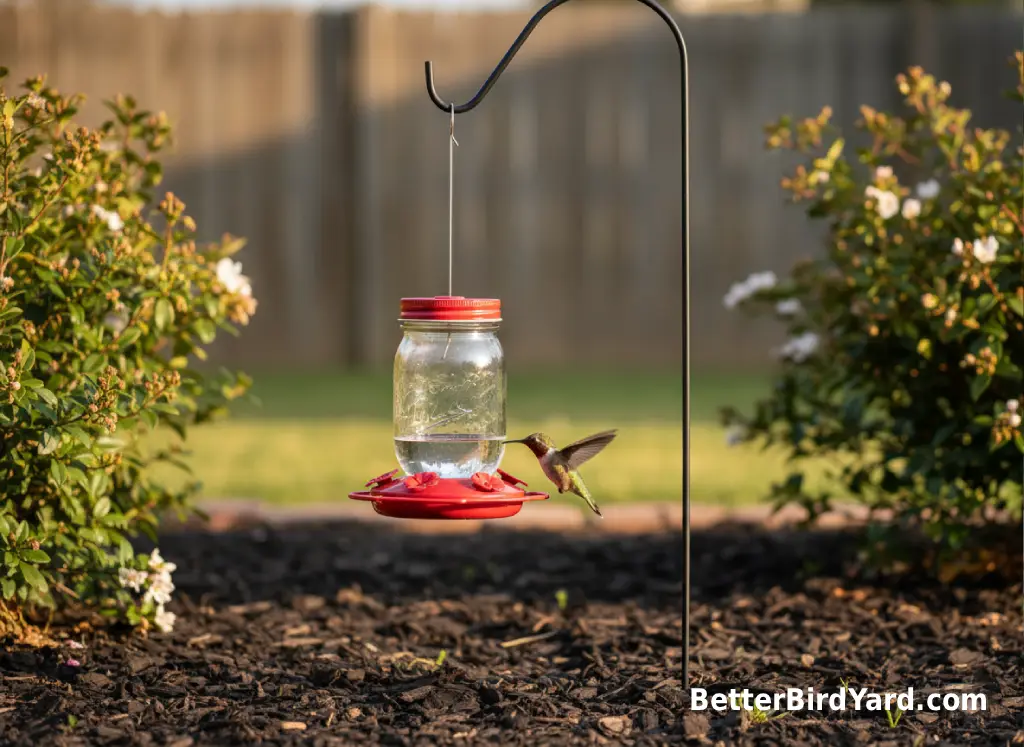
DIY Mason Jar Hummingbird Feeder Method
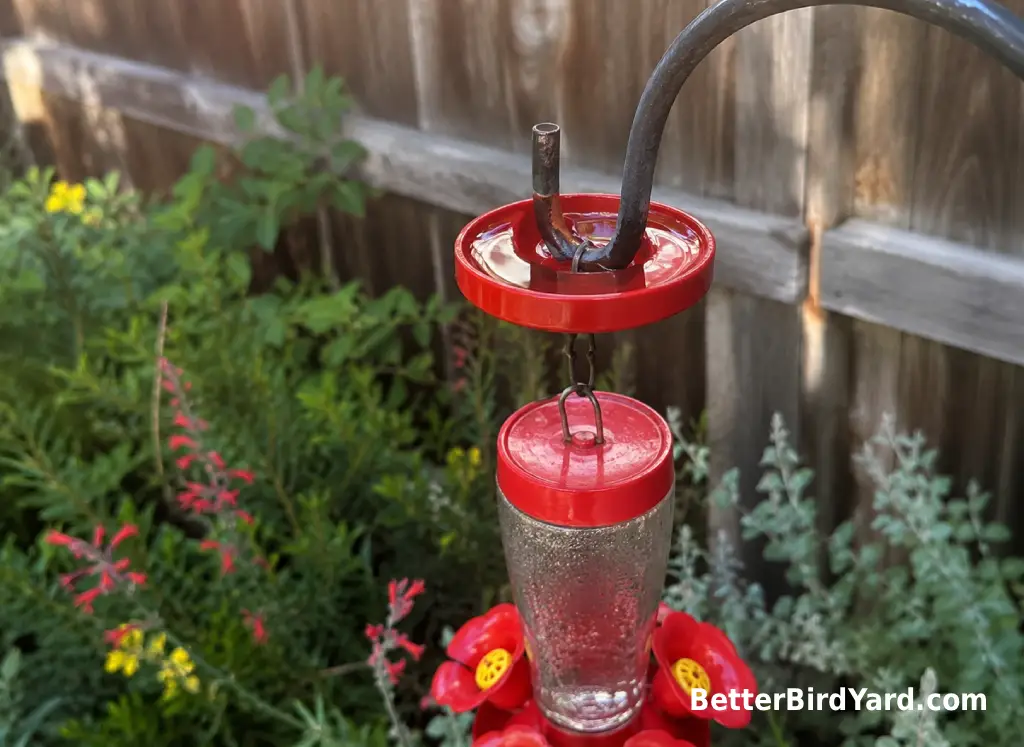
A diy hummingbird feeder mason jar project is one of the more practical homemade options because glass is sturdy, clear, and easy to inspect. The key is using a safe feeder lid or insert designed for nectar ports rather than poking random holes in metal or plastic and hoping the edges are smooth.
Here is a simple approach:
- Choose a small, clean mason jar with no chips or cracks.
- Use a hummingbird feeder lid insert or a smooth red port base that fits the jar securely.
- Fill only partway with cooled nectar so you can replace it often.
- Tighten the lid enough to prevent leaks, but do not force warped parts together.
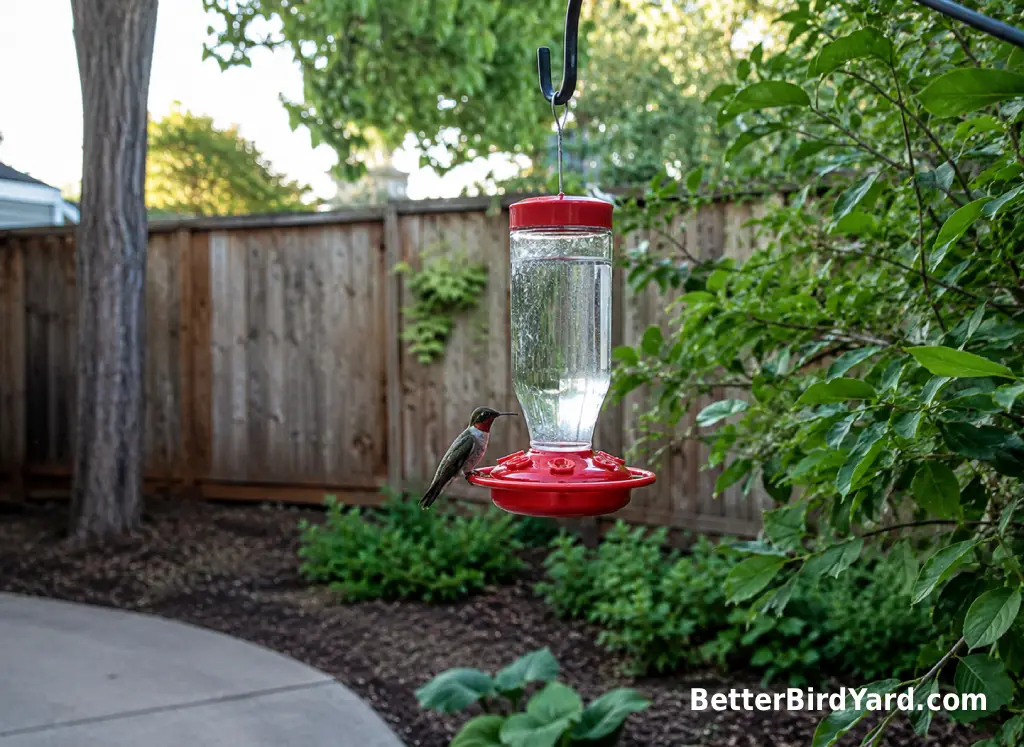
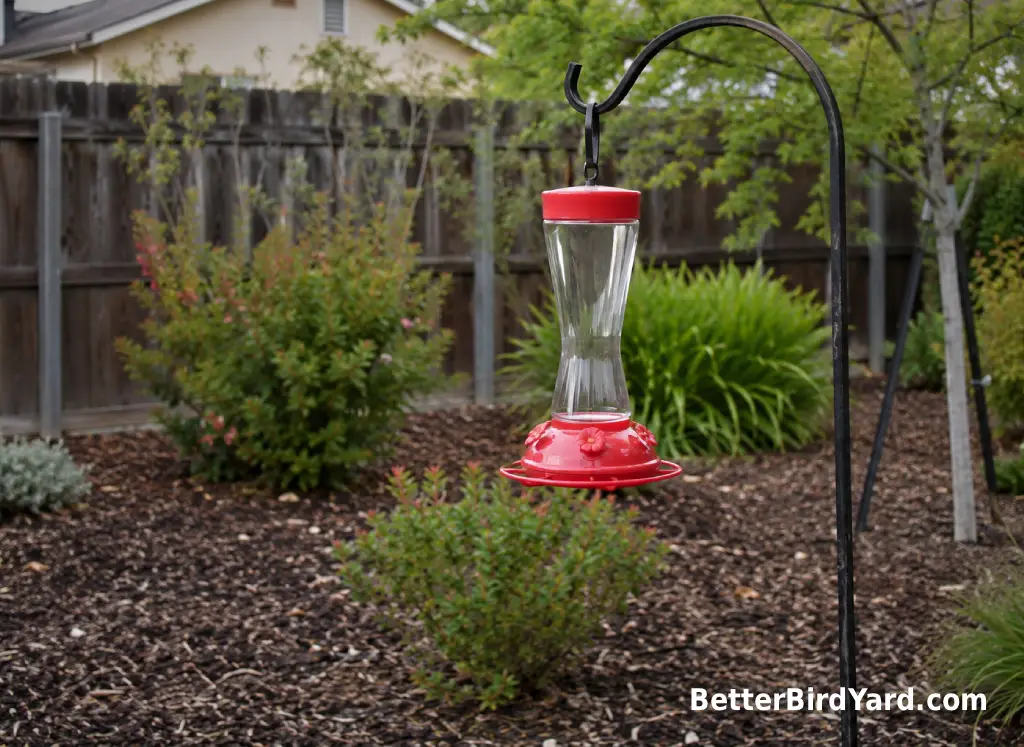
- Hang the feeder level from a sturdy hook in light shade.
Before hanging it, turn the feeder over outdoors or over a sink and watch for slow drips. A feeder that leaks will attract ants and bees quickly, and the dripping sugar water can make a sticky mess on railings, patio boards, or mulch.
For small patios and balconies, use a compact jar rather than a full-size quart jar. A heavy glass feeder needs a strong hook, and renters should check lease, balcony, and building rules before hanging anything over a shared walkway or neighbor’s space.
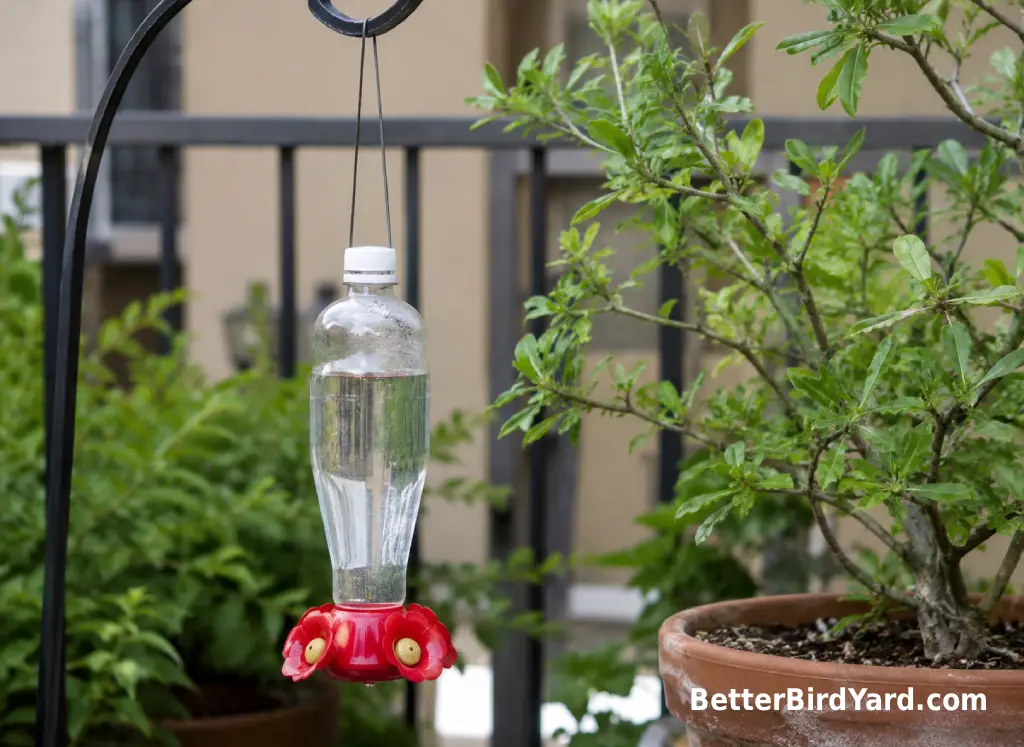
DIY Plastic Bottle Hummingbird Feeder: Use It Carefully
A diy hummingbird feeder plastic bottle project can be useful if you want a lightweight, low-cost test feeder, but it should be treated as temporary. Plastic scratches more easily than glass, and scratches can hold residue that is difficult to clean.
Use a small, clear, food-safe bottle with smooth sides. Avoid bottles that held cleaners, oils, chemicals, soap, milk, or anything with a strong smell. Do not use brittle plastic, painted surfaces near the nectar, or craft materials that may soften outdoors.
The safest version uses a purchased hummingbird feeder base that screws onto a compatible bottle. If you are making ports yourself, be extra cautious: rough holes, sharp plastic, loose decorations, and glued-on parts can create problems. The ports should be smooth, secure, and easy to scrub.
In hot weather, check a plastic feeder closely. If it warps, leaks, turns cloudy, or develops a sour smell after washing, retire it. A simple store-bought feeder may be the better choice if you want something that lasts through the whole season. The goal is not to prove that homemade is always better; the goal is to offer fresh nectar safely.
How To Add A DIY Ant Moat
A diy ant moat for a hummingbird feeder is simply a small cup of water placed between the hanger and the feeder. Ants walking down the hook reach the water barrier before they reach the nectar ports.
For a simple ant moat for hummingbird feeder diy setup, use a small hanging cup, a sturdy eye hook, and clean water. The moat must sit above the feeder, not below it. Keep it shallow, stable, and easy to refill. Check it daily during hot weather because a tiny moat can dry out fast.
Do not use petroleum jelly, oils, grease, glue, sticky tape, or insecticides on the hanger or near the ports. Cornell Lab’s All About Birds specifically cautions against putting oil or sticky substances around hummingbird feeding ports because they may contaminate the nectar.
If ants keep finding the feeder, move it a few feet, trim any plant stems touching the hanger, and check for leaks. A dripping feeder is an ant invitation. In a small yard, that small move often works better than adding more gadgets.
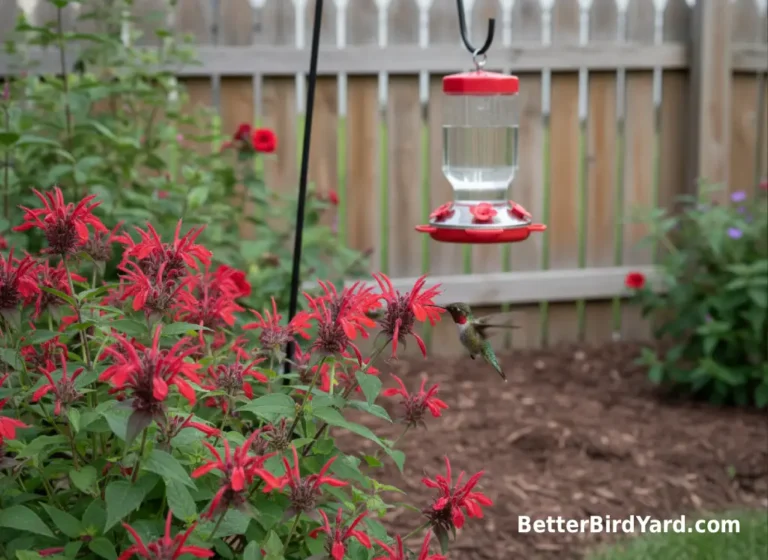
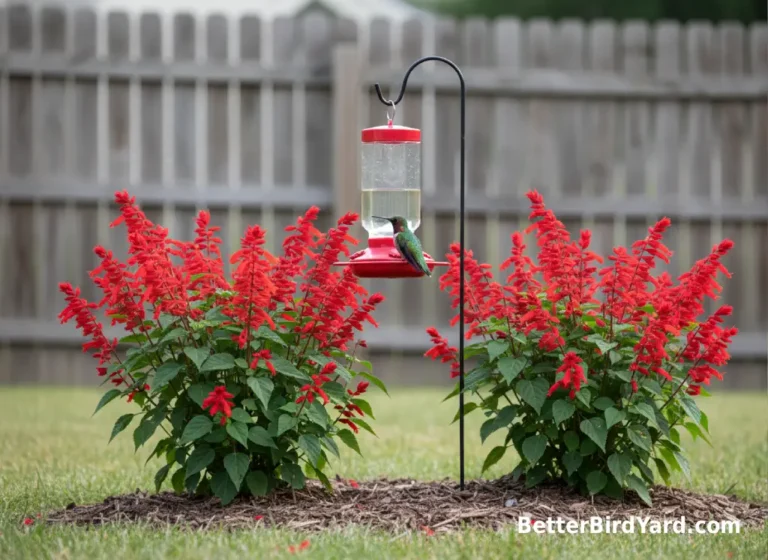
Where To Hang A Homemade Hummingbird Feeder
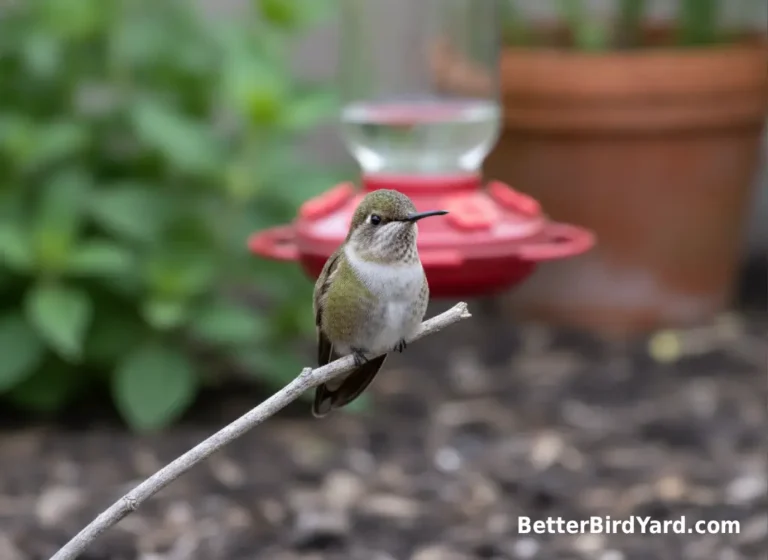
Placement can make a homemade feeder easier for hummingbirds to find and easier for you to maintain. Light shade is a good starting point because nectar usually stays fresher than it would in full sun. Smithsonian’s National Zoo recommends hang hummingbird feeders in shade, away from busy areas and windows when possible, and near trees if available.
In a small yard or patio, try a spot that is:
- Easy for you to reach for cleaning and refilling.
- Protected from the hottest afternoon sun.
- Not directly above outdoor furniture, walkways, or pet areas.
- Near shrubs or small trees, but not touching branches that ants can use as a bridge.
- Either very close to a window or well away from it, with window-safety treatment where needed.
Window placement deserves extra care. The U.S. Fish and Wildlife Service notes that feeders near reflective windows can create collision risk and recommends either placing feeders very close to windows or using window treatments to reduce strikes.
Cleaning And Refilling Routine
Cleaning is the part of a diy hummingbird feeder that beginners most often underestimate. Sugar water can look clear while the ports, seams, or base are already getting sticky. Build the cleaning routine into the project before you hang the feeder.
A practical routine looks like this:
- Empty old nectar before it gets cloudy or sour.
- Take the feeder apart as much as the design allows.
- Scrub the ports, base, threads, and jar or bottle with hot water and a small brush.
- Rinse thoroughly so no residue remains.
- Let parts air dry when possible before refilling.
- Refill with fresh, cooled nectar.
In mild weather, plan on changing nectar every few days. In hot weather, or if the feeder sits in sun, check it daily and clean hummingbird feeder more often. Smithsonian’s National Zoo recommends changing feeders every other day and cleaning thoroughly each time to help prevent mold growth, while Cornell Lab’s All About Birds advises changing sugar water at least every 3 to 5 days and more frequently in hot weather.
If you see mold, cloudy nectar, floating debris, sticky residue, or dead insects in the feeder, do not top it off. Empty it, clean it, and refill with fresh nectar. For general bird feeders, Cornell Lab and Project FeederWatch emphasize removing debris, rinsing thoroughly, and allowing feeders to dry before refilling; that same “clean before refill” mindset is especially important with nectar feeders.
Common DIY Hummingbird Feeder Mistakes To Avoid
Most homemade feeder problems come from trying to make the project too large, too decorative, or too hard to clean. Hummingbirds do not need a complicated feeder. They need safe access to fresh nectar.
Avoid these common mistakes:
- Using red dye instead of red feeder parts.
- Making a big feeder that holds more nectar than birds drink quickly.
- Using honey, brown sugar, raw sugar, or sweet drinks instead of white sugar water.
- Cutting rough feeding holes that could create sharp edges.
- Using glue, paint, glitter, or coatings near nectar or feeding ports.
- Hanging the feeder where ants can reach it from branches or railings.
- Letting cloudy nectar sit because a few hummingbirds are still visiting.
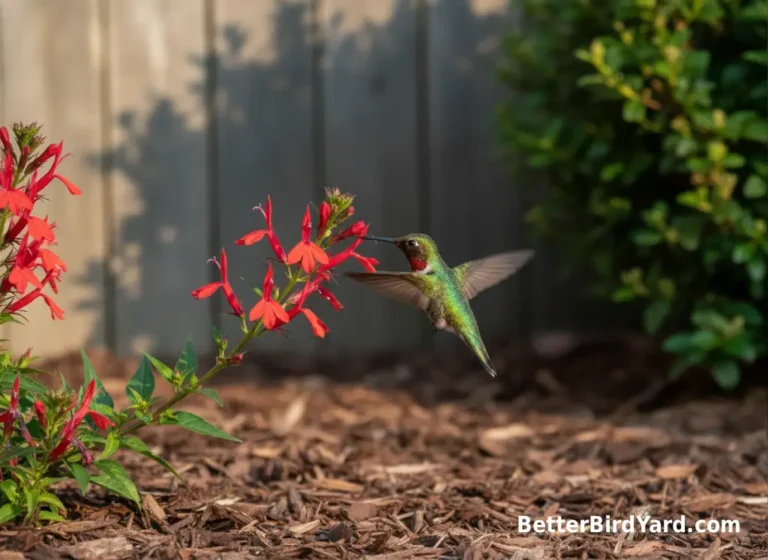
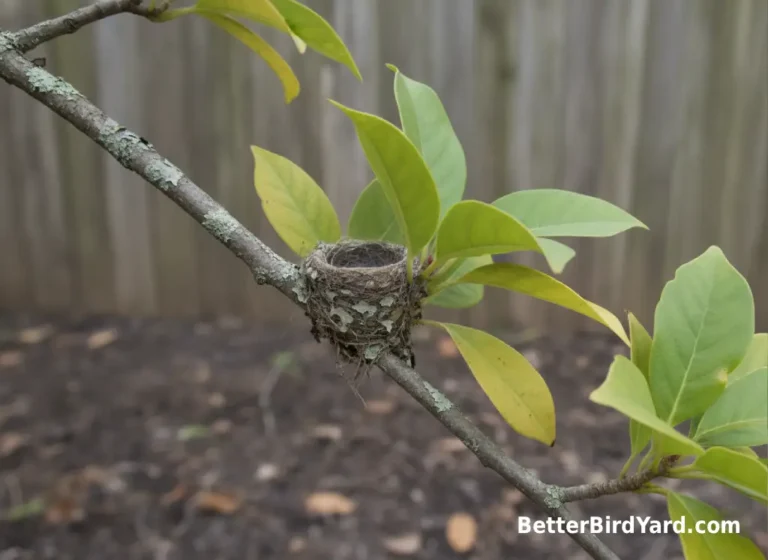
Also avoid treating a feeder like the whole hummingbird habitat. Feeders can supplement natural food, but they are not a replacement for flowers, insects, shelter, and safe yard conditions. Audubon recommends complementing feeders with nectar-bearing native plants where possible.
For a small yard, the better upgrade is often not a bigger feeder. It is a cleaner feeder, a better hanging spot, and a few region-appropriate flowering plants, that attract hummingbirds.
What To Do If You See Sick, Injured, Or Unusual Birds
If a bird near your feeder looks weak, unusually still, injured, unable to fly, or otherwise not acting normally, do not try to diagnose the problem. Backyard symptoms can have many causes, and BetterBirdYard is not a wildlife rehabilitation, veterinary, or public health service.
As a safe first step, remove and clean feeders and bird baths, especially if more than one bird appears affected. The U.S. Fish and Wildlife Service recommends keeping an eye on feeder birds and removing feeders if any look sickly until those birds disperse.
For an injured, stunned, orphaned, or distressed wild bird, contact a licensed wildlife rehabilitator, local wildlife agency, animal control, or another qualified local professional for instructions. Avoid casual handling, and do not give food, water, medicine, or home remedies unless a qualified professional tells you to do so.
DIY Feeder Or Store-Bought Feeder: Which Is Better?
A homemade feeder is worth trying if you enjoy the project and can keep the design simple. It is also a nice way to test where hummingbirds are most likely to notice a feeder before you buy a more durable model.
A store-bought feeder may be better if you want dishwasher-safe parts, a built-in ant moat, bee guards, replacement pieces, or a design that has already been tested for leaks. Many good commercial feeders are inexpensive, small, and much easier to take apart than a craft-heavy homemade version.
| Option | Best For | Main Caution |
|---|---|---|
| Mason Jar DIY Feeder | Backyard bird watchers who want a sturdy homemade project | Use smooth feeder ports and secure hanging hardware |
| Plastic Bottle DIY Feeder | Temporary testing, renters, and lightweight patio setups | Replace if scratched, warped, cloudy, or hard to clean |
| Store-Bought Feeder | Beginners who want easy cleaning and fewer leaks | Still needs frequent nectar changes and scrubbing |
In a real backyard, the best feeder is the one you will maintain. A beautiful feeder that is hard to clean is not a good feeder.
Final Tips For A Safer Homemade Hummingbird Feeder
A diy hummingbird feeder can be a satisfying backyard project when it stays simple. Start with a small design, use safe nectar, hang it where you can reach it, and clean it before the nectar turns cloudy. That routine matters far more than decorative details.
For most beginners, the best first build is a small mason jar feeder with a purpose-made feeder lid or a clean, simple base. A plastic bottle feeder can be useful as a temporary experiment, but it should not be kept once it becomes scratched, warped, leaky, or hard to scrub.
Keep your expectations realistic. Hummingbird visits vary by region, season, weather, nearby flowers, nesting activity, migration timing, and the overall habitat around your home. A clean feeder near shelter and nectar-rich native plants gives you a better chance, but no feeder can guarantee daily visits.
If you keep the feeder fresh, skip unsafe additives, watch for ants and leaks, and respond quickly to dirty nectar, your homemade feeder can become a responsible part of a small bird-friendly yard.