Cleaning Hummingbird Feeders Without Making It Complicated
Cleaning hummingbird feeders is one of those small backyard jobs that matters more than beginners expect. A feeder can look fine from a few feet away while old sugar water is starting to ferment, tiny ports are getting sticky, or a thin ring of dark mold is forming where hummingbirds drink.
The good news is that you do not need a fancy setup. You need a simple feeder you can take apart, hot water, the right brush, and a cleaning schedule that changes with the weather. Hummingbird nectar is just sugar water, and authoritative sources such as the Smithsonian’s National Zoo, National Wildlife Federation, Audubon, and Cornell Lab emphasize fresh nectar, clean feeders, and avoiding red dye, honey, and spoiled solution.
This guide covers how to clean a hummingbird feeder safely, how often to clean it, when vinegar is enough, when a diluted bleach soak may be appropriate, and what to do if you find mold. For more feeder basics, you may also like our guide to where to hang a hummingbird feeder.
Quick Answer: How Often To Clean A Hummingbird Feeder
In normal mild weather, clean and refill a hummingbird feeder every few days. In hot weather, clean it every day or every other day. Clean it immediately whenever the nectar looks cloudy, smells sour, has floating specks, attracts heavy insect activity, or shows any sign of mold.
Audubon’s hummingbird feeding guidance recommends emptying and cleaning feeders every day or every other day in hot weather, about every three days in temperate weather, and twice weekly in cooler weather. The Smithsonian’s National Zoo gives an even simpler rule for safety-minded beginners: change feeders every other day and clean them each time to help prevent mold growth.
If hummingbirds empty the feeder sooner, still clean it before refilling. Do not just top off old nectar with fresh nectar. Sugar water left behind in seams, ports, and the base can spoil faster than the new batch.
| Condition | Practical Cleaning Schedule | What To Watch For |
|---|---|---|
| Hot summer weather | Daily or every other day | Cloudy nectar, sour smell, sticky ports, mold |
| Mild spring or fall weather | Every 2–3 days | Nectar level, insects, residue in base |
| Cool weather | About twice weekly, or sooner if dirty | Any cloudiness, debris, or mold |
| Visible mold or spoiled nectar | Clean immediately | Dark spots, film, floating specks, fermented smell |
What You Need Before You Start
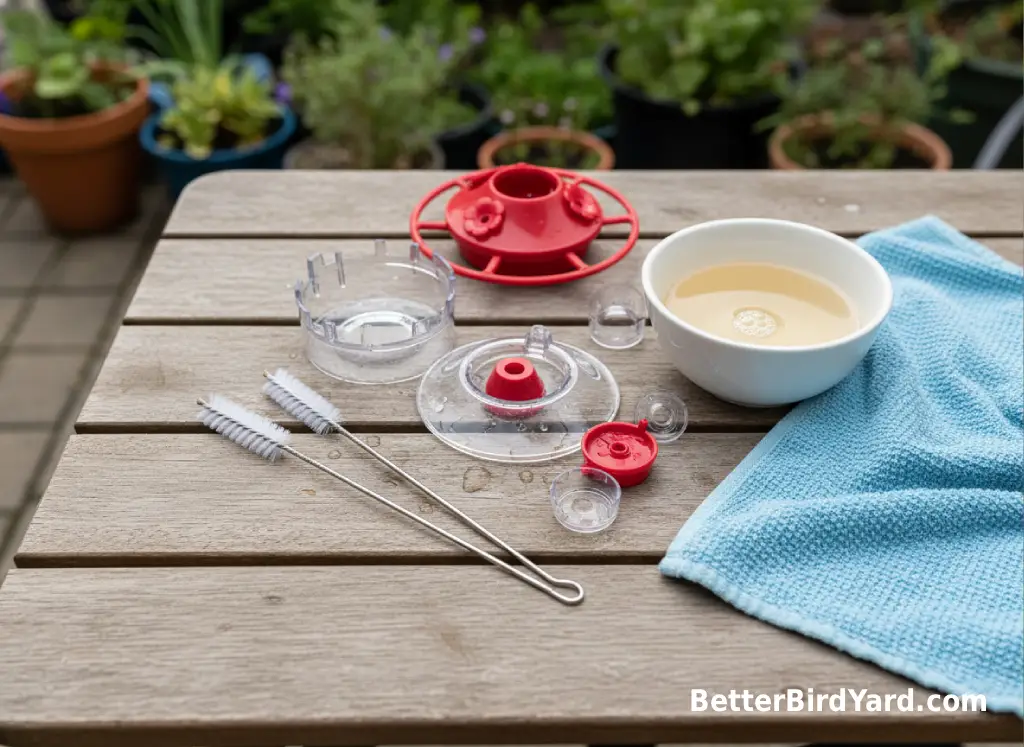
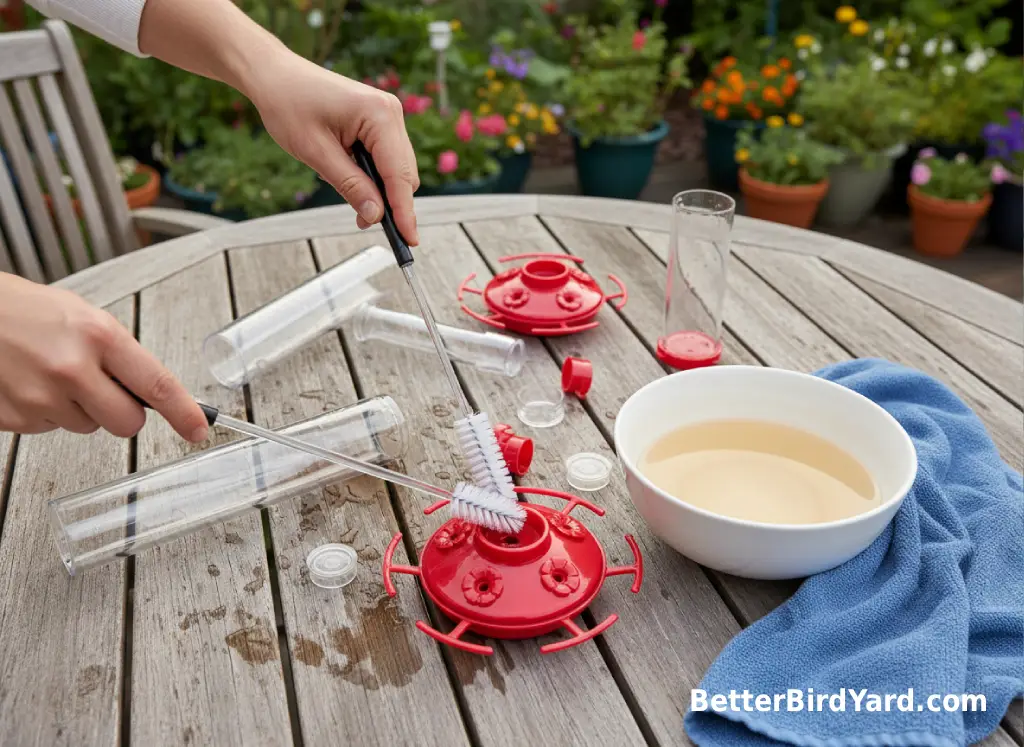
The best cleaning tools are the ones that actually reach the places nectar hides. A bottle brush helps with the reservoir. A tiny port brush, straw brush, or clean soft toothbrush helps with flower ports, bee guards, seams, and the base. Cleaning brushes for hummingbird feeders are worth keeping separate from kitchen brushes so residue does not move back and forth.
A basic feeder-cleaning kit can be very simple:
- Hot water for routine rinsing and scrubbing.
- A bottle brush for glass or plastic reservoirs.
- A tiny port brush for feeding holes and flower-shaped openings.
- Plain white vinegar for routine deep cleaning or light buildup.
- Unscented household bleach only when a disinfecting soak is needed, followed by very thorough rinsing.
- A clean towel or drying rack where feeder parts can air dry.
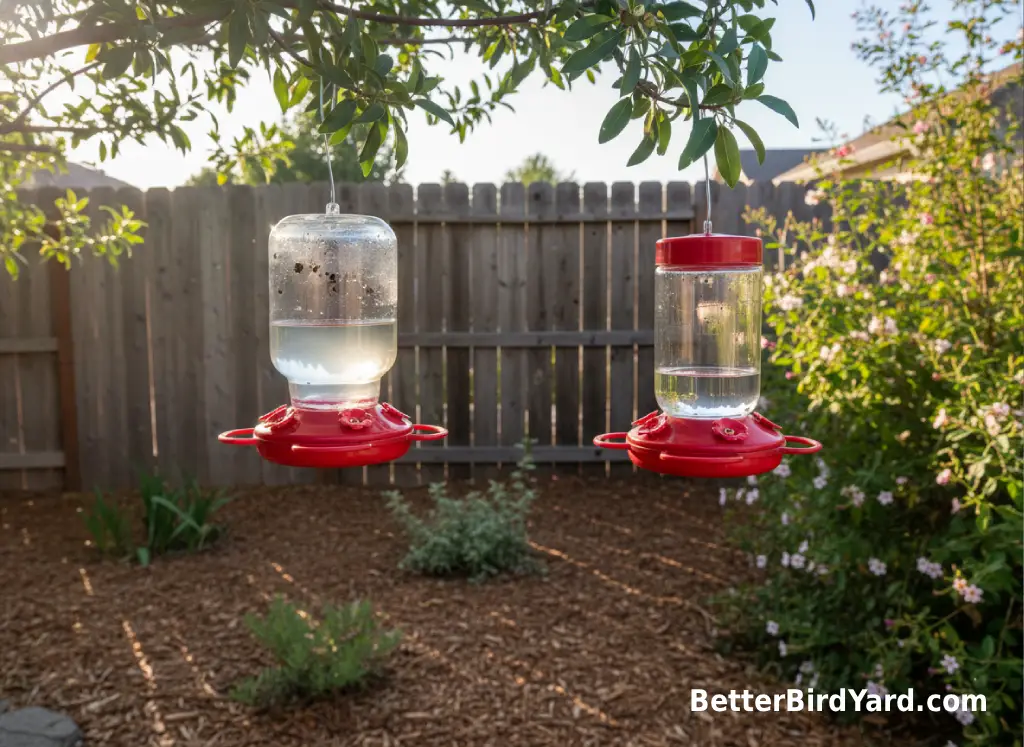
A common mistake we see is buying an ornate feeder first and thinking about cleaning later. For beginners, the easiest feeder is usually the safest feeder: wide-mouth, easy to open, minimal crevices, and ports you can actually scrub.
How To Clean A Hummingbird Feeder In 5 Easy Steps
Here is the simple BetterBirdYard routine for how to clean a hummingbird feeder in 5 easy steps. It works for most common saucer, bottle, glass, and plastic feeders.
- Empty the feeder completely. Pour out old nectar. Do not save or reuse it.
- Take the feeder apart. Remove the base, reservoir, flowers, bee guards, ant moat, gasket, and any other removable pieces.
- Scrub every nectar-touching surface. Use hot water and brushes to clean the reservoir, base, seams, ports, and tiny openings.
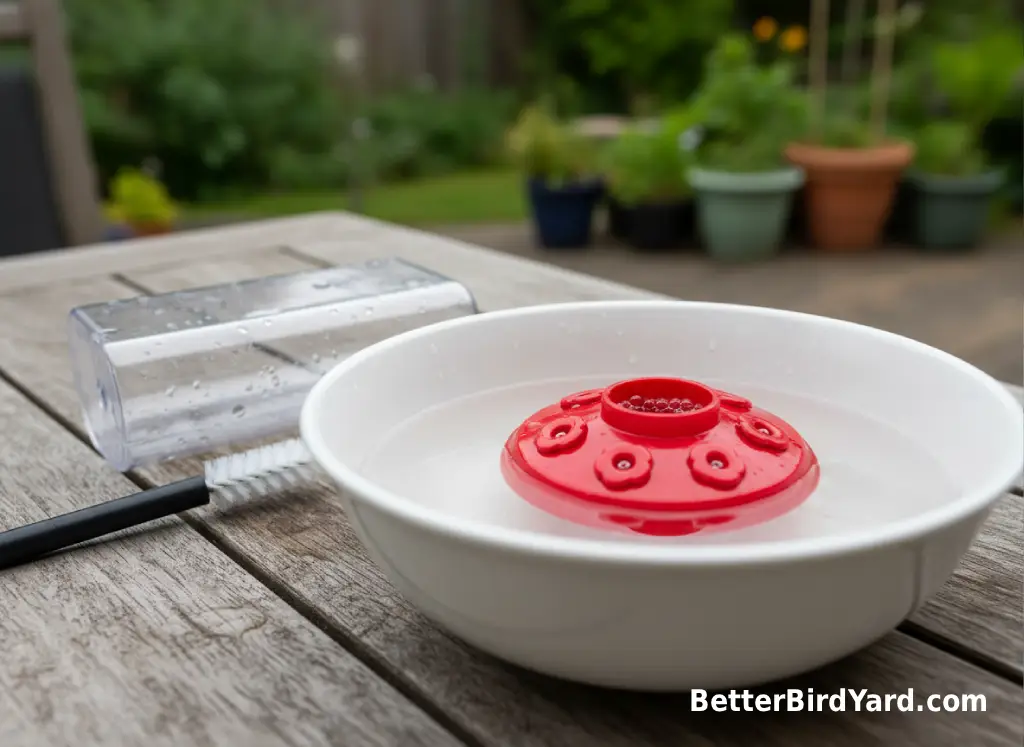
- Deep clean if needed. Use a vinegar soak for routine buildup or a diluted bleach soak for disinfection when appropriate. Rinse especially well after either method.
- Air dry, reassemble, and refill. Add only fresh nectar made with plain white sugar and water, with no red dye or honey.
For nectar, the standard homemade ratio is 1 part refined white sugar to 4 parts water. The National Wildlife Federation and Smithsonian’s National Zoo both recommend this 1:4 sugar-water mix and say not to add red dye; the National Wildlife Federation also warns against honey and artificial sweeteners.
Small feeders are easier to manage because you waste less nectar during frequent cleanings. If the birds are not emptying your feeder before the next cleaning, fill it only partway. That is not stingy; it is safer and cleaner.
How To Clean With Vinegar, Bleach, Or Hot Water Safely
Hot water and scrubbing handle many routine cleanings. The important part is removing the sticky film and reaching the ports, not just swishing water inside the reservoir. If the feeder is simple, fresh, and cleaned often, hot water plus a thorough brush may be enough for the day-to-day routine.
Cleaning hummingbird feeders with vinegar is a good option for regular deeper cleaning. The National Wildlife Federation describes a deeper clean using vinegar and warm water, especially when mold has been spotted, and South Carolina Department of Natural Resources lists hot water with vinegar as one cleaning option for nectar feeders.
A practical vinegar method is to soak the disassembled feeder parts in a white vinegar and warm water solution, scrub the ports and base, then rinse until no vinegar smell remains. Vinegar is useful for buildup and routine maintenance, but visible mold still needs careful scrubbing and inspection. If you cannot reach the mold, the feeder is not a good long-term feeder.
Cleaning hummingbird feeders with bleach is more serious, but it can be appropriate for disinfection when done carefully. Cornell Lab’s Project FeederWatch recommends scrubbing away visible debris, using a dilute bleach solution for feeder disinfection, rinsing thoroughly, and letting parts dry before refilling. Cornell’s All About Birds guidance says a dilute bleach solution should be no stronger than 1 part bleach to 9 parts water and highlights thorough rinsing and drying.
Never mix bleach with vinegar or any other cleaner. Choose one method, rinse thoroughly, and let the feeder air dry before you refill it.
What To Do About Mold, Cloudy Nectar, And Sticky Ports
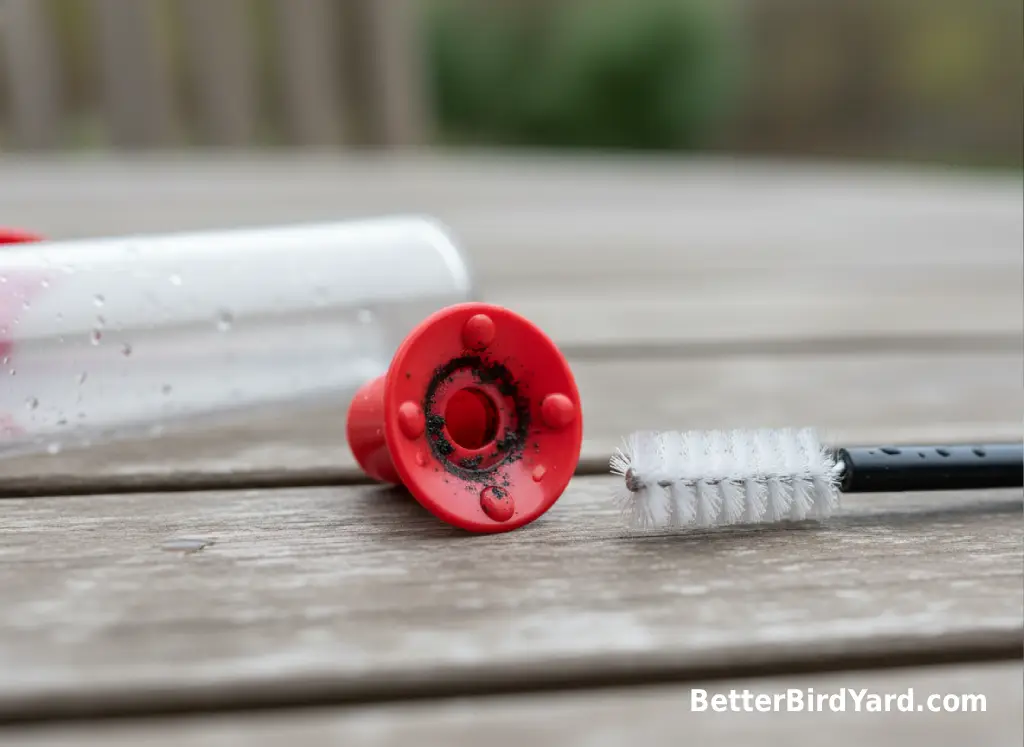
If you notice black specks, cloudy nectar, a sour smell, stringy film, or sticky buildup around the ports, take the feeder down right away. Do not wait for the regular cleaning day. Old nectar can ferment, and mold can develop in the small spaces where hummingbirds feed.
Start by emptying the feeder and taking it apart. Scrub all visible residue before soaking. This matters because a disinfecting solution works better on a surface that has already had the film, debris, and sugar crust physically removed. Cornell Lab’s feeder-cleaning guidance makes the same point for feeders generally: remove visible debris, then disinfect, rinse, and dry.
If mold comes back quickly, ask three practical questions:
- Is the feeder sitting in hot direct sun for much of the day?
- Are you filling it with more nectar than the birds drink in 1–2 days?
- Does the feeder have seams, fake flowers, or narrow tubes you cannot scrub?
If a feeder has hidden crevices that stay dark or slimy no matter how carefully you clean, retire it. A cheaper, simpler saucer-style feeder that opens fully is often a better choice than a decorative feeder that is hard to sanitize.
How To Clean A Glass Hummingbird Feeder
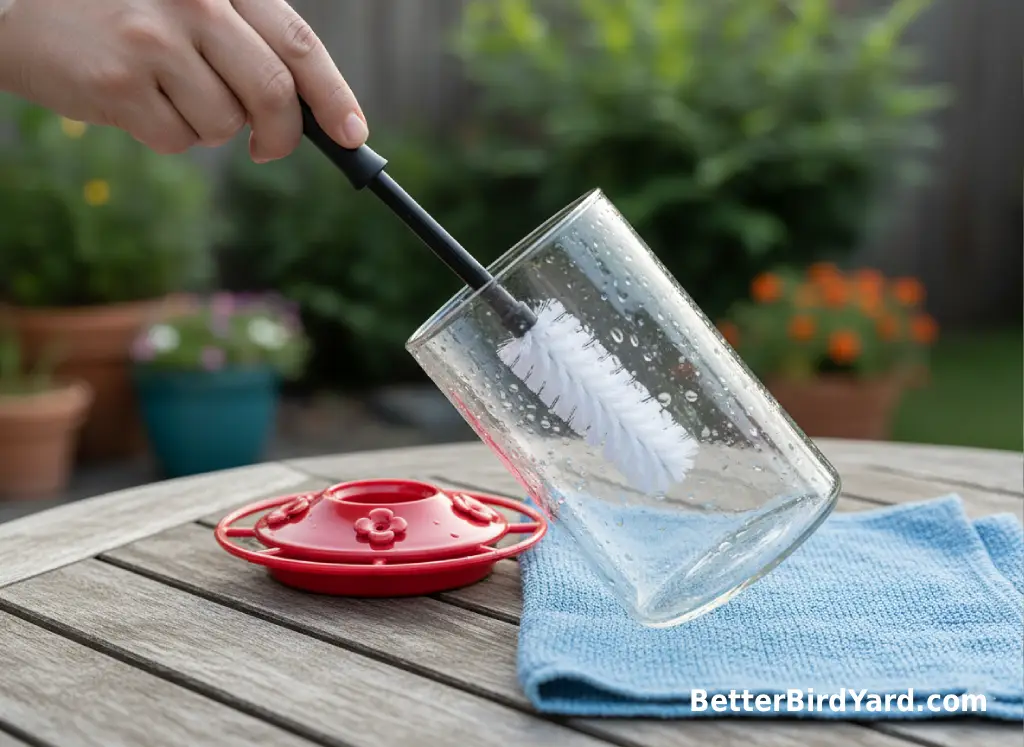
Glass feeders are popular because the reservoir is easy to see and usually easier to scrub than narrow plastic bottles. The cleaning routine is the same: empty, disassemble, scrub, rinse, dry, and refill with fresh homemade nectar.
The main difference is handling. Glass can crack if it is dropped or exposed to sudden temperature changes, so avoid pouring boiling water into a cold glass reservoir. Use warm to hot water that is safe for the feeder, and check the manufacturer’s care instructions if you have them.
To clean a glass hummingbird feeder well, pay close attention to the joint between the glass bottle and base. That is where sugar water often collects and dries into a sticky ring. Use a bottle brush inside the reservoir and a smaller brush around the threads, gasket, and ports.
If the base has tiny flower ports, removable bee guards, or decorative pieces, do not assume the glass reservoir is the only part that matters. Hummingbirds drink from the base, not the bottle. The base should be the cleanest, most carefully inspected part of the whole feeder.
Common Cleaning Mistakes That Put Hummingbirds At Risk
The biggest mistake is treating a hummingbird feeder like a seed feeder. Nectar spoils faster than dry seed, especially in heat. A feeder that looked fresh yesterday can need cleaning today during a hot spell.
- Topping off old nectar instead of emptying and cleaning the feeder.
- Filling a large feeder all the way when only a small amount is being used.
- Ignoring cloudy nectar because there is no obvious mold yet.
- Buying a feeder with tiny parts that cannot be removed or scrubbed.
- Using red dye, honey, brown sugar, artificial sweeteners, or leftover sweet drinks.
- Rinsing too quickly after soap, vinegar, or bleach.
Red parts on the feeder are enough to help make the feeder noticeable; red dye is not needed in the nectar. Audubon, the National Wildlife Federation, and the Smithsonian’s National Zoo all recommend simple sugar-water nectar without red dye.
A Simple Routine For Busy Backyards
The easiest routine is to make cleaning part of refilling, not a separate chore. Keep your feeder small, mix only what you need, and clean before the nectar has a chance to look questionable.
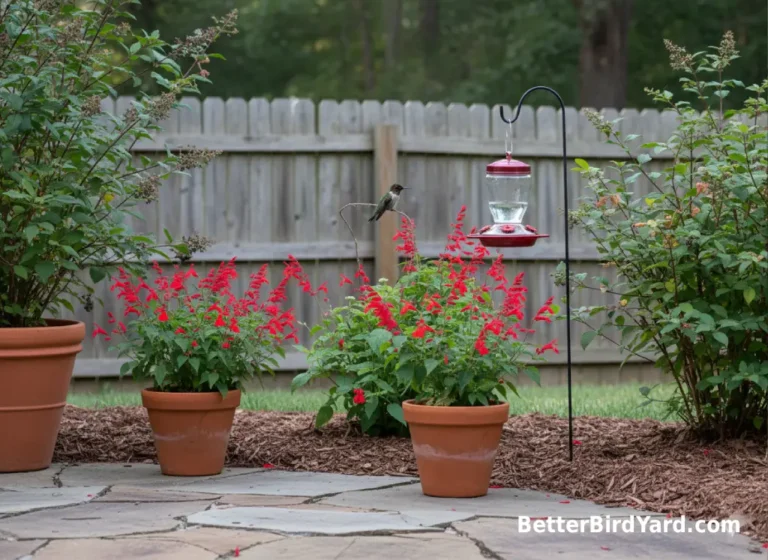
In a small yard or patio, one easy-to-clean feeder in light shade is usually better than several feeders you cannot maintain. Shade can help slow warming, but it does not replace cleaning. During hot weather, check the feeder daily even if you filled it recently.
A practical weekly rhythm might look like this:
- Make a small batch of plain 1:4 nectar and refrigerate extra nectar if you use it soon.
- Use less nectar in the feeder during slow activity periods.
- Clean every refill, not just when the feeder looks bad.
- Do one closer inspection each week for port buildup, cracked parts, and hidden mold.
- Plant nectar-rich native flowers as a lower-maintenance backup food source where practical.
Native flowers do not eliminate feeder maintenance, but they reduce the pressure to keep a large feeder full all the time. Audubon also encourages planting nectar-bearing native plants as part of helping hummingbirds naturally.
For a broader yard plan, see our guide to native plants for hummingbirds.
Keep The Feeder Clean, Then Keep It Simple
Cleaning hummingbird feeders does not need to be complicated, but it does need to be consistent. Empty old nectar, take the feeder apart, scrub the reservoir and ports, rinse thoroughly, let it dry, and refill with fresh 1:4 sugar-water nectar.
Clean more often in hot weather, immediately when nectar looks cloudy or mold appears, and every time the birds empty the feeder. Use vinegar for routine deeper cleaning, and use a properly diluted bleach soak only when disinfection is needed and you can rinse and dry every part completely.
If there is one BetterBirdYard rule to remember, it is this: choose a feeder you can clean well on your busiest week. Hummingbirds do not need a decorative feeder, a huge reservoir, or red nectar. They need fresh nectar, clean ports, safe placement, and a yard that supports them with flowers, insects, and responsible care.