How to Clean Bird Feeders Safely and Keep Them Ready for Birds
Learning how to clean bird feeders is one of the most important parts of responsible backyard feeding. Seed dust, droppings, damp hulls, and old food can collect around feeding ports and trays. When that material stays wet, it may support mold or other contaminants that can make birds sick. Cornell Lab guidance recommends cleaning seed feeders about every two weeks, with more frequent cleaning during wet weather, heavy use, or local reports of illness.
The basic routine is straightforward: empty the feeder, take it apart, scrub away visible debris, disinfect when appropriate, rinse thoroughly, and let every part dry before adding fresh food. You do not need a complicated bird feeder cleaning kit, but dedicated brushes and a few ordinary supplies make the work faster.
This guide covers seed, suet, platform, tube, and squirrel-resistant feeders. Hummingbird feeders require a somewhat different schedule because sugar water spoils quickly; see our separate guide to cleaning hummingbird feeders for detailed nectar-feeder care.
Gather Simple Bird Feeder Cleaning Supplies
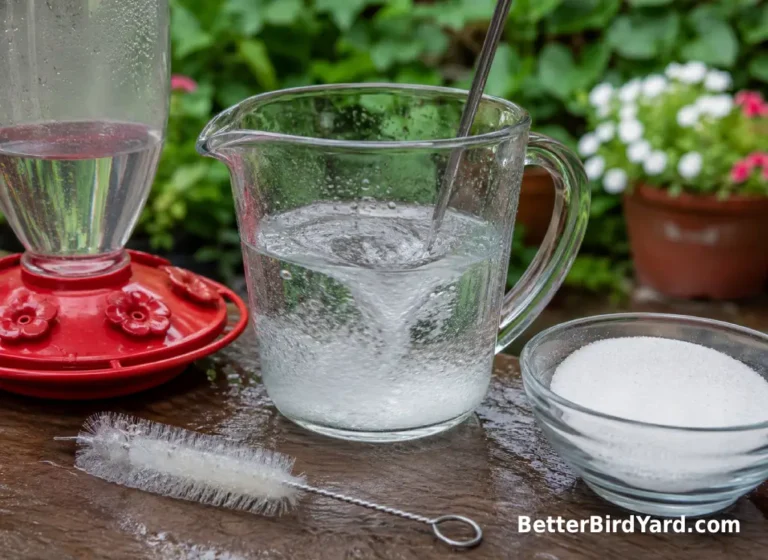
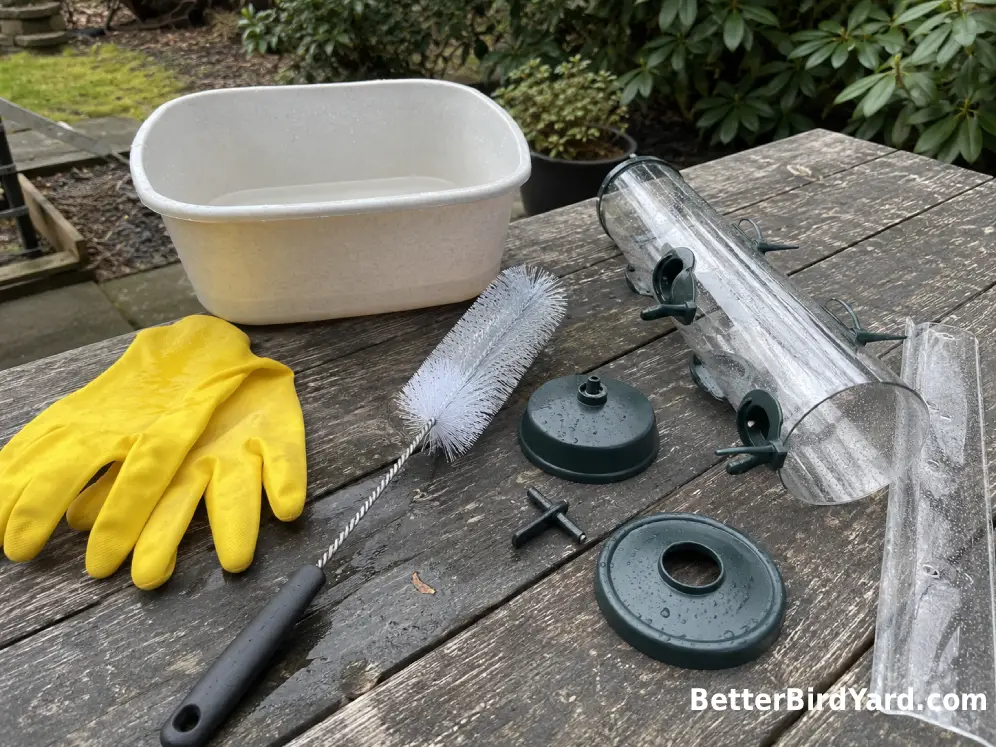
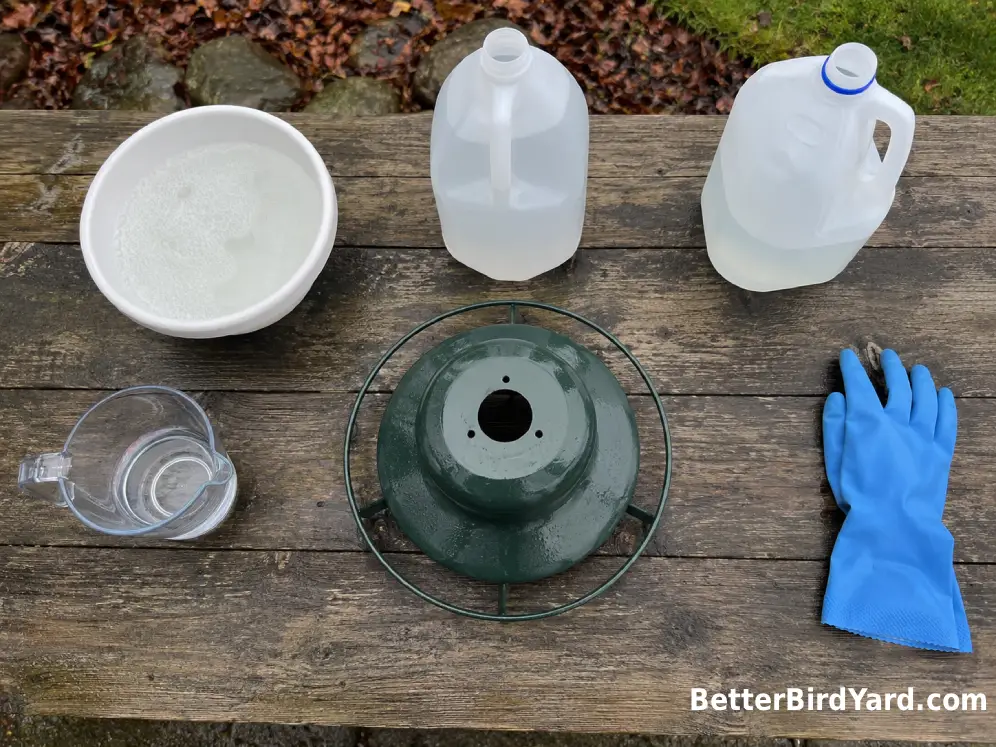
A practical bird feeder cleaning kit can be assembled from supplies you may already have. Keep the brushes and wash container separate from items used for food preparation.
- Rubber or other nonporous cleaning gloves
- A wash tub or bucket reserved for outdoor equipment
- A stiff bird feeder cleaning brush or bottle brush
- A small brush for ports, seams, and drainage holes
- Mild dish soap for most seed and suet feeders
- Regular, unscented household bleach for occasional disinfection
- White vinegar for routine cleaning when appropriate
- A measuring cup, clean rinse water, and a drying rack
A narrow bottle brush is useful for tube feeders, while a toothbrush-sized brush reaches hinges, perch brackets, and seed openings. Avoid wire brushes that scratch plastic or remove protective finishes. Scratched surfaces can become harder to clean.
Clean A Bird Feeder In Seven Practical Steps
1. Empty The Feeder Completely
Remove all seed, suet, shells, and compacted material. Discard wet, moldy, foul-smelling, or heavily contaminated food in the trash rather than spreading it beneath the feeder. Cornell notes that spoiled food under feeders can also be unhealthy for pets and may attract rodents.
2. Take Apart Every Removable Piece
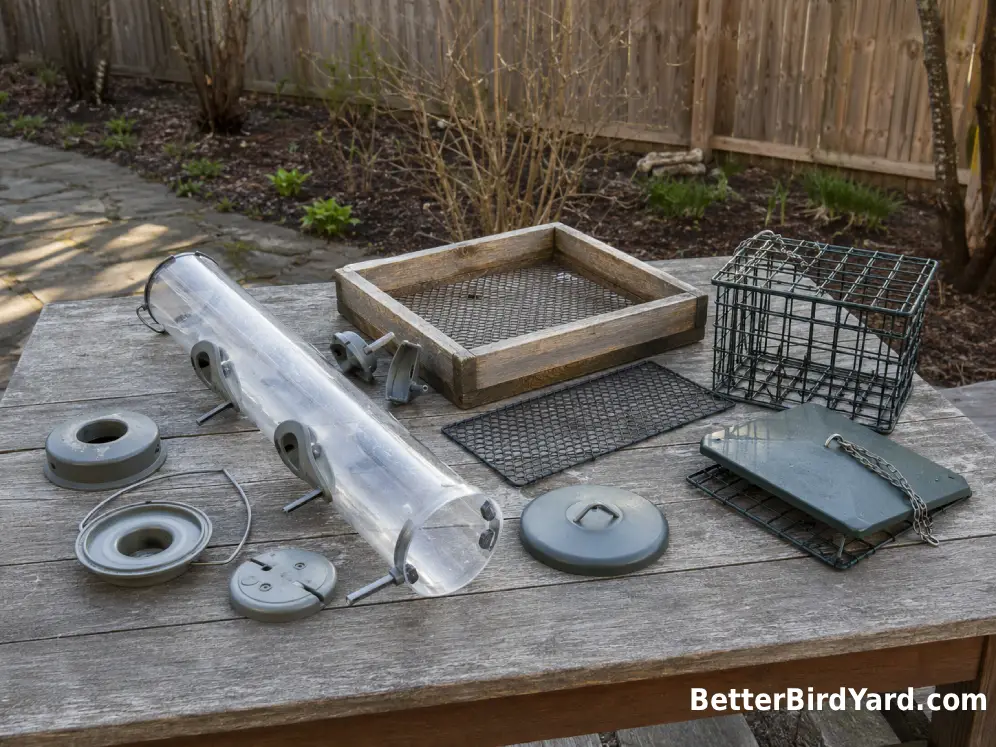
Remove the roof, base, feeding ports, tray, inner tube, and other parts intended for routine disassembly. Photograph the feeder first when the assembly order is not obvious. Check the manufacturer’s instructions before forcing clips, springs, or plastic tabs.
3. Brush Away Dry Debris
Knock loose seed dust and hulls before adding water. Pay particular attention to corners, drainage holes, the underside of trays, and the space behind feeding ports. A dry brush often removes material that becomes sticky once wet.
4. Wash And Scrub
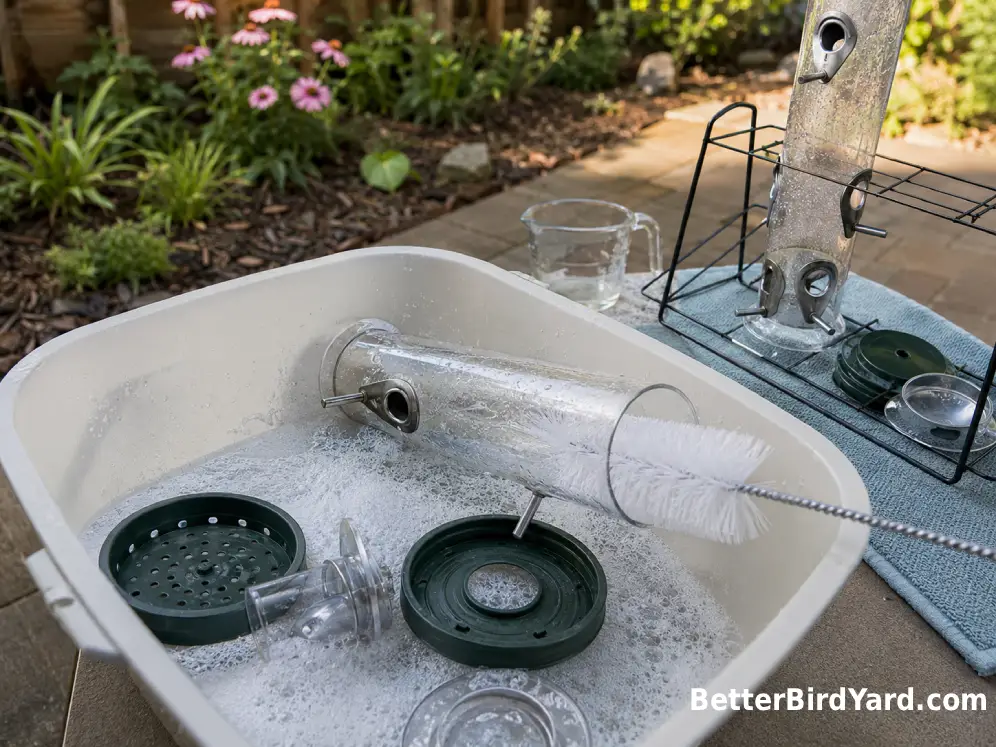
Wash most seed feeders with warm water and mild dish soap. Scrub until no film, droppings, or seed residue remains. Cornell also lists hot dishwasher cleaning as an option for feeders that are confirmed dishwasher-safe. Plastic parts can warp and finishes can deteriorate, so follow the feeder manufacturer’s care instructions.
5. Disinfect When Appropriate
For a thorough disinfection, Cornell recommends soaking cleaned feeder parts for about 10 minutes in a solution containing no more than one part household bleach to nine parts water. Disinfection is especially useful after visible mold, heavy contamination, or a suspected illness at the feeder.
6. Rinse Thoroughly
Use plenty of clean water to remove soap, bleach, vinegar, loosened debris, and any remaining odor. Turn hollow pieces in several directions so water reaches corners and drain channels.
7. Let Everything Dry Completely
Place the parts on a clean rack and allow them to air-dry fully before reassembly. Moisture trapped inside a seed tube or beneath a feeder base can quickly dampen fresh food. Cornell and Audubon both emphasize complete drying before a feeder is refilled.
How Often Should Bird Feeders Be Cleaned?
For most seed and suet feeders, cleaning every one to two weeks is a useful starting schedule. Cornell recommends about every two weeks, while Project FeederWatch commonly advises regular weekly or biweekly care. Clean more frequently when conditions encourage food to spoil or many birds are sharing a small feeding area.
| Feeder Or Condition | Practical Starting Schedule | Clean Sooner When |
|---|---|---|
| Tube or hopper seed feeder | Every 1–2 weeks | Seed is damp, clumped, moldy, or stuck around ports |
| Platform or tray feeder | At least every 1–2 weeks | Droppings, wet hulls, or standing water collect on the tray |
| Suet cage | Every 1–2 weeks and between spoiled cakes | Suet becomes rancid, melted, moldy, or heavily soiled |
| Busy feeder station | More often than the normal schedule | Bird traffic and waste increase noticeably |
| Hot, wet, or humid weather | Inspect every few days | Food develops moisture, odor, insects, or visible growth |
| Hummingbird feeder | Every few days to at least weekly | Nectar turns cloudy, develops spots, or temperatures rise |
Do not wait for a calendar reminder when the feeder is visibly dirty. Clean it immediately if you find mold, sour or musty odors, wet seed, blocked drainage, accumulated droppings, cloudy nectar, insect buildup, or a bird that appears unusually lethargic or unwell. Cornell advises changing hummingbird sugar water every three to five days, more frequently in hot weather, and cleaning those feeders at least weekly.
It also helps to refill with only the amount of food birds are likely to use before it becomes stale or wet.
Vinegar, Bleach, Or Soap: Which Cleaner Should You Use?
Soap, vinegar, and diluted bleach serve slightly different purposes. The best choice depends on the feeder material and whether you are doing routine maintenance or responding to a possible disease concern.
Mild Soap For Routine Scrubbing
Warm water, mild dish soap, and thorough scrubbing work well for routine cleaning of many seed and suet feeders. Soap loosens oily residue, dirt, and seed dust. Rinse until there are no bubbles or slippery areas. Skip soap on hummingbird feeders unless the feeder manufacturer specifically permits it; Cornell recommends hot water and a bottle brush for routine hummingbird-feeder cleaning.
Vinegar For Routine Feeder Cleaning
Cleaning bird feeders with vinegar can be useful when you want an alternative to bleach for ordinary maintenance. Audubon describes scrubbing most feeders with soap and water, followed by a 15-minute soak in a mixture of equal parts vinegar and water, then a thorough rinse.
Vinegar should not be treated as interchangeable with bleach when you have seen a sick bird or received an outbreak advisory. In those situations, follow current guidance from Cornell, Project FeederWatch, or your state wildlife agency. Their feeder-disease recommendations commonly specify a diluted bleach solution.
Diluted Bleach For Disinfection
To disinfect a compatible feeder, first wash away all visible debris. Then soak the cleaned parts for about 10 minutes in no more than one part regular, unscented household bleach to nine parts water. Rinse repeatedly and dry completely. Do not use concentrated bleach directly on a feeder.
Use bleach in a well-ventilated place and follow its label for gloves, eye protection, dilution, and safe handling. Never mix bleach with vinegar, ammonia, dish soap, bird feeder cleaner spray, or any other cleaning product. CDC guidance warns that mixing bleach with other cleaners can release dangerous vapors.
What About Commercial Bird Feeder Cleaner?
A commercial spray may be convenient, but read the label carefully. It should be suitable for the feeder material, used exactly as directed, and rinsed away completely if it contacts surfaces where birds or food will touch. Avoid heavily fragranced products and do not assume that a quick spray replaces disassembly, scrubbing, and drying.
Adjust The Method For Different Feeder Designs
Tube Feeders
Remove the base and feeding ports if they are designed to come out. Use a long bottle brush inside the tube and a smaller brush around each port. Flush drainage holes from both directions. Hold the dry feeder near a window or bright outdoor light afterward; leftover streaks and seed fragments are easier to spot when the tube is backlit.
Hopper Feeders
Open the roof and remove the seed tray or panels when possible. Scrub the corners where the walls meet the floor because seed dust often packs into those seams. Wooden hopper feeders should not be left soaking unless the manufacturer permits it. Replace a feeder if cracked, rotting, or deeply contaminated surfaces can no longer be cleaned.
Platform And Tray Feeders
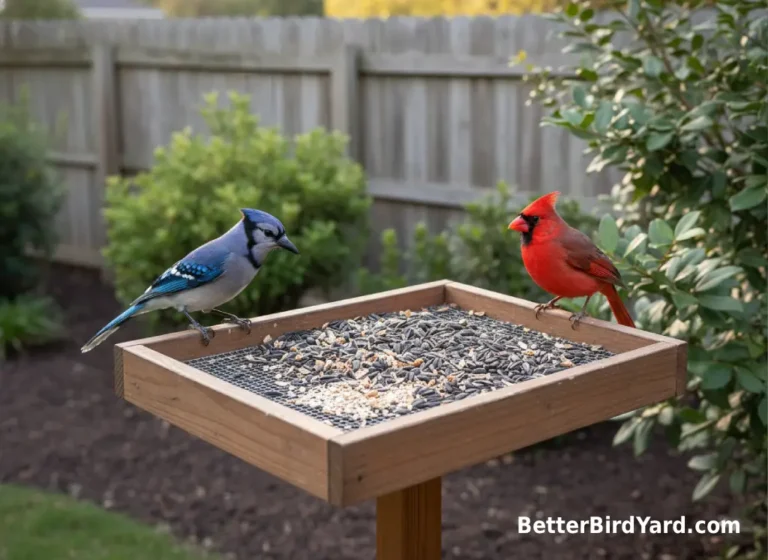
Clear every drainage opening and scrub both sides of the tray. Screen-bottom trays are often easier to keep dry than solid trays, but seed fragments can lodge in the mesh. Check brackets and corners where droppings collect.
Suet Feeders
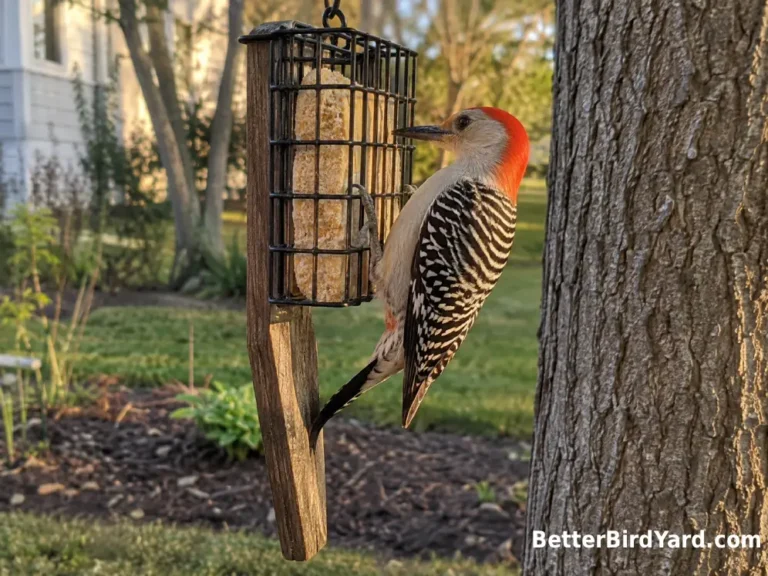
Remove the old suet and wash oily residue from the cage, roof, and lower corners. Warm water helps loosen fat, but the water does not need to be boiling. Refill only after the cage is clean, dry, and free from rancid or spoiled suet.
How To Clean A Squirrel Buster Bird Feeder
Squirrel Buster models contain an outer shroud and moving components that differ by model. Remove the feeder, empty the seed, and identify the exact model before disassembly. Use the manufacturer’s model-specific support instructions rather than forcing the shroud, spring, tube, or lower assembly apart. Brome provides separate cleaning and parts guidance for models such as the Squirrel Buster Standard and Mini.
Wash accessible seed-contact surfaces and feeding ports with a soft brush and mild soapy water, then rinse and dry them thoroughly. Once reassembled, confirm that the outer shroud moves freely and returns to its normal position. Do not add oil or household lubricant to the mechanism unless the manufacturer specifically instructs you to do so.
Avoid These Common Bird Feeder Cleaning Mistakes
A feeder can look clean on the outside while old seed remains packed beneath the ports or base. Slow down during disassembly and inspect the areas that are normally hidden.
- Do not refill a feeder while any part is damp.
- Do not place fresh seed on top of old seed.
- Do not dump spoiled seed beneath the feeder.
- Do not rely on spraying without scrubbing.
- Do not mix vinegar, bleach, or other cleaners.
- Do not forget the tray, pole, baffle, or ground below.
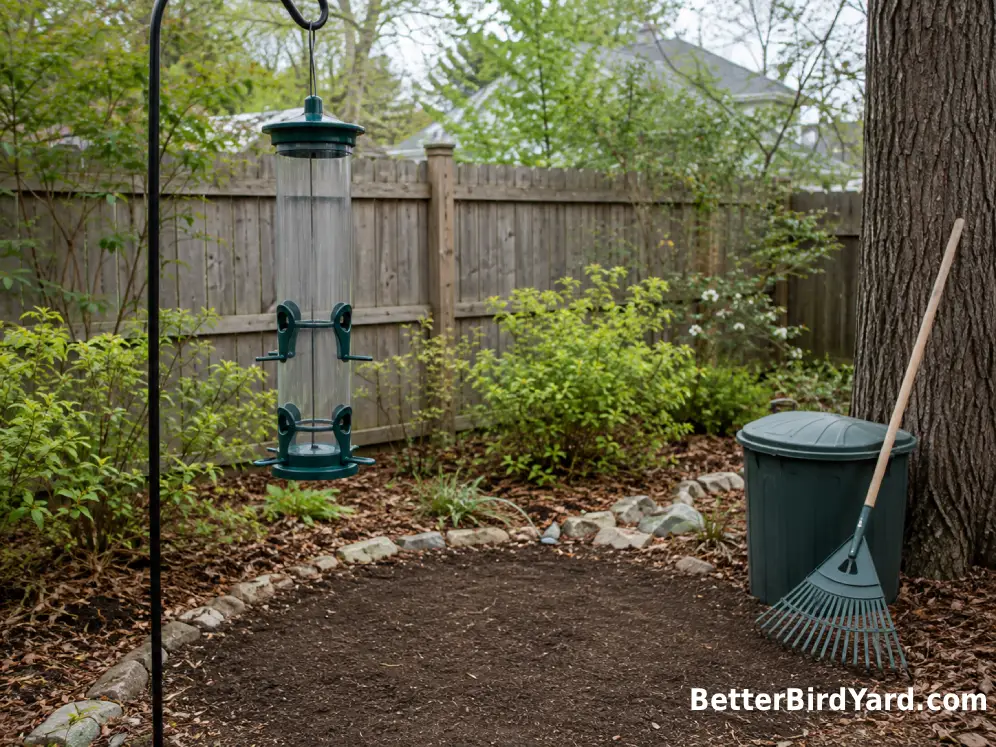
Another common mistake is cleaning the feeder but leaving a layer of seed hulls and droppings underneath it. Rake, sweep, or collect that material regularly, particularly on patios and balconies where waste can remain concentrated. Project FeederWatch specifically recommends removing old seed and droppings from beneath feeding areas.
If you only change one thing, stop refilling damp feeders. A completely dry feeder with a modest amount of fresh seed is easier to manage than a large feeder that stays full long enough for moisture and old food to build up.
Respond Carefully If A Bird Appears Sick
A bird sitting still for a few moments is not enough to identify an illness. However, repeated lethargy, difficulty flying, unusually swollen or crusted eyes, or several birds behaving abnormally are reasons to act cautiously rather than attempting a diagnosis.
Take the affected feeders down, discard the food, clean and disinfect the feeders, and remove accumulated seed and droppings from the ground. Project FeederWatch recommends taking feeders down and cleaning them with a one-part-bleach-to-nine-parts-water solution when birds with apparent illness are observed.
Temporarily pausing feeding can help disperse birds that would otherwise continue gathering in one place. Audubon also advises checking with the state wildlife agency and reporting sick or dead birds when appropriate. Local recommendations may change during disease events, so follow current agency guidance rather than relying on a fixed pause period.
Do not add medication to seed or water and do not try to capture a mobile wild bird. Project FeederWatch advises against medicating feeder food or baths, and handling most wild birds generally requires qualified, licensed help. Contact a licensed wildlife rehabilitator, state wildlife agency, animal control office, or other qualified local professional for instructions when a bird appears injured, unable to fly, or in immediate danger.
Make Feeder Cleaning An Easy Backyard Habit
Cleaning a bird feeder properly does not require a shelf full of specialty products. A dedicated brush, warm water, mild soap, careful rinsing, and complete drying handle most routine jobs. Vinegar can be useful for ordinary maintenance, while diluted bleach is the more appropriate choice when authoritative guidance calls for disinfection.
Start with a one-to-two-week cleaning rhythm for seed and suet feeders, then shorten the interval during wet weather, high bird activity, or whenever food becomes damp or dirty. Clean hummingbird feeders more frequently, and inspect all feeders between scheduled washes.
A practical routine is to keep two smaller feeders or a spare set of removable parts. One can dry fully while the other is in use. That simple arrangement is especially helpful for renters, balcony bird watchers, and anyone without a large outdoor washing area.
Clean feeders cannot eliminate every wildlife-health risk, but they reduce avoidable buildup and make it easier to notice spoiled food, blocked drainage, and damaged components early. Pair regular bird feeder cleaning with fresh food, a tidy feeding area, and attention to local wildlife guidance. Those small habits create a safer and more manageable feeding station for the birds visiting your yard.